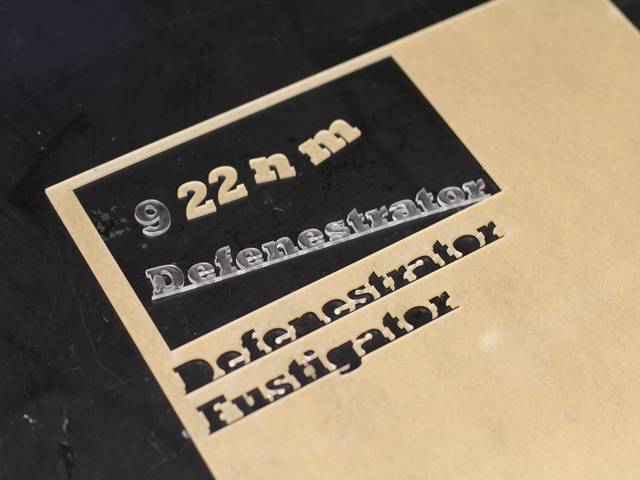
Labels for the Laser Cozy. Paul designed the text in Adobe Illustrator and used a CNC laser cutter in the architecture building to cut them out of acrylic.
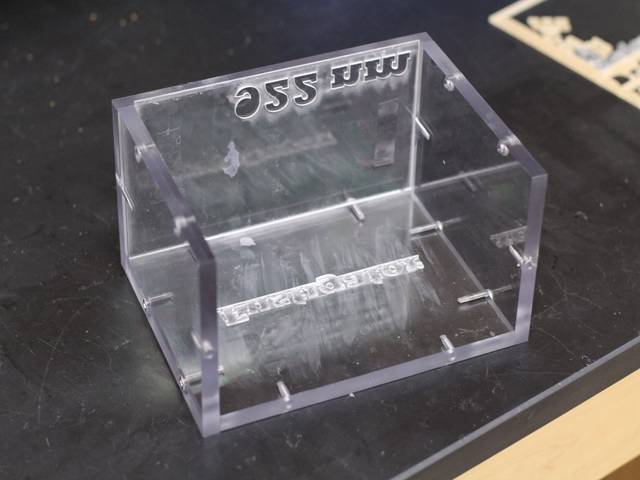
The labels were attached to the mold using double sided tape.
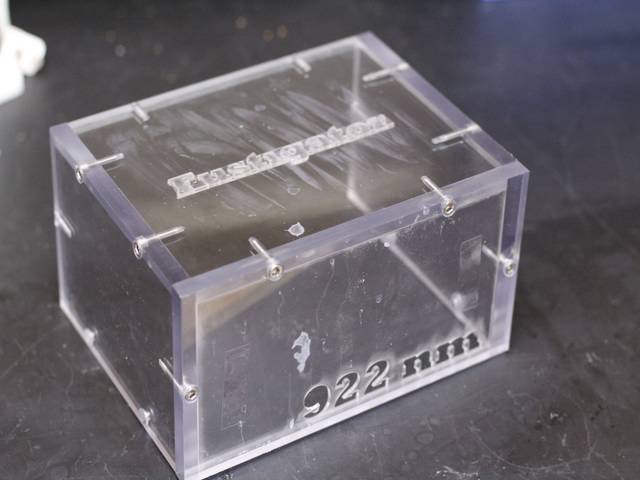
Exterior of the mold.
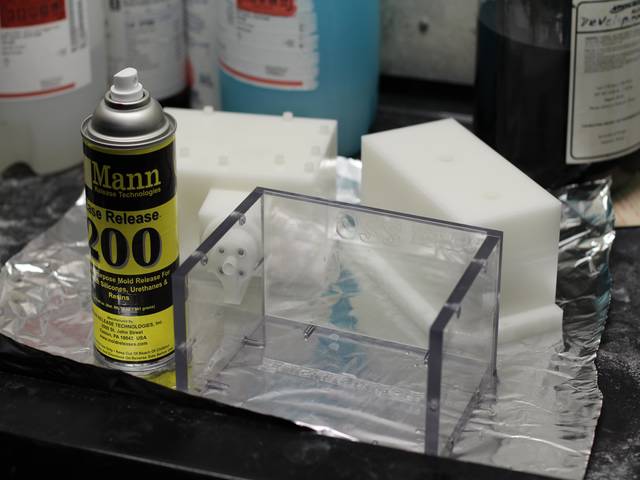
All the mold parts were coated with Mann Release 200 so the silicone didn't stick, although it probably wasn't necessary with the type of silicone we used.
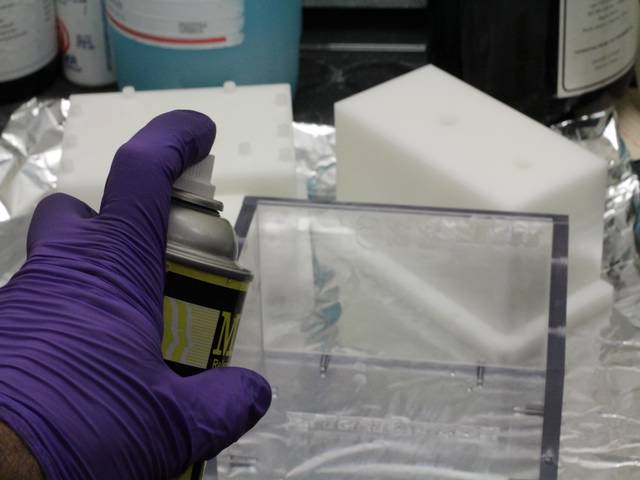
Spray everything thoroughly...
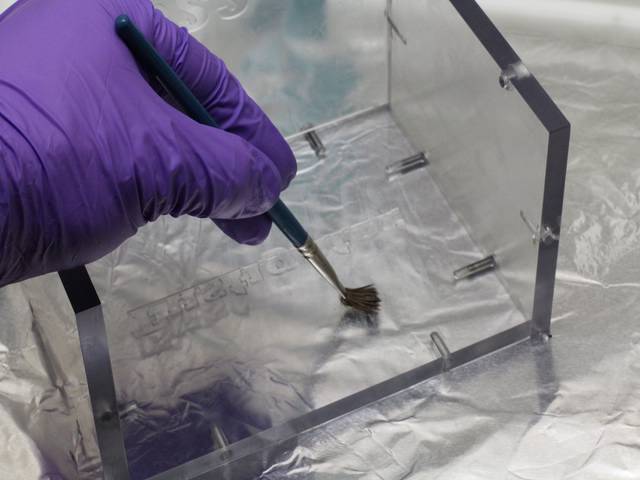
...and brush the release agent into the small, hard to reach areas.
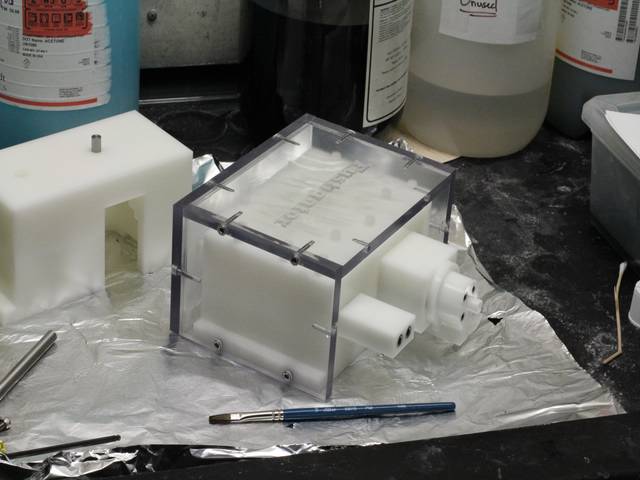
Assembling the mold.
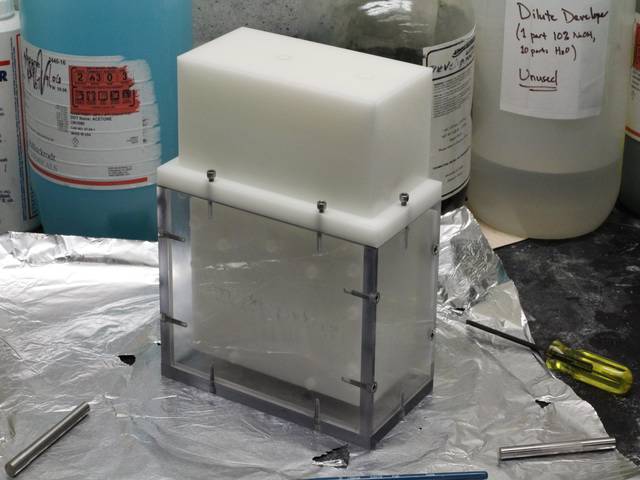
The main pieces are together.
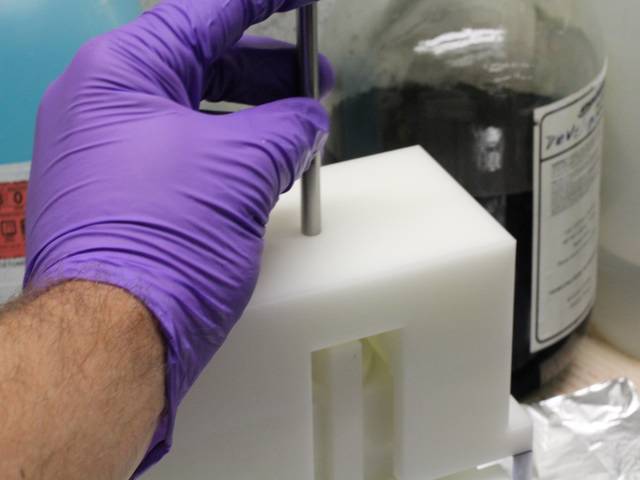
This rod is where the laser fiber will pass through.
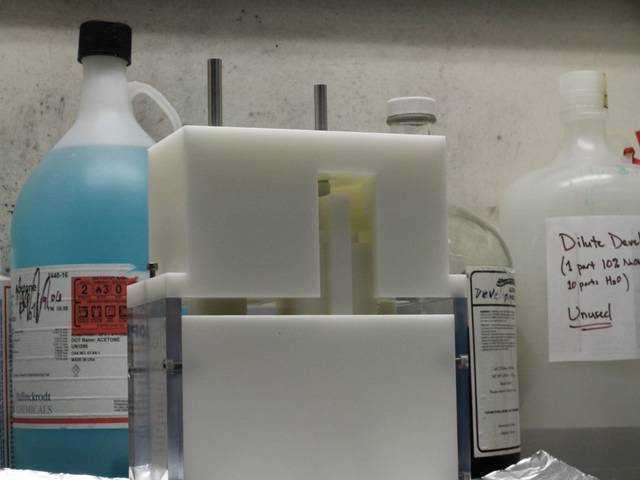
The rod on the left is where the cable will pass to the DB-15 connector.
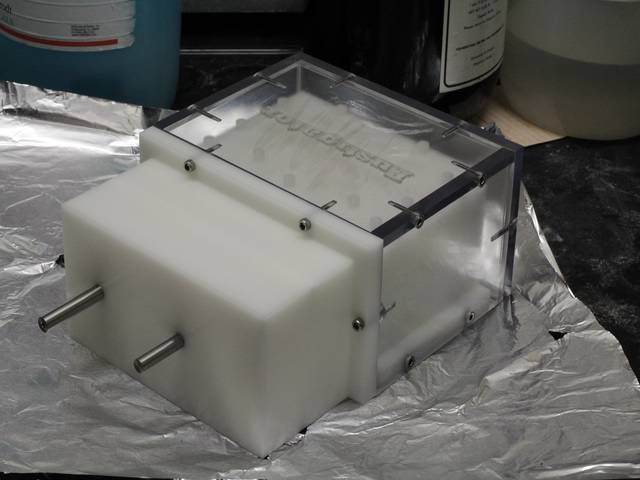
Assembled mold.
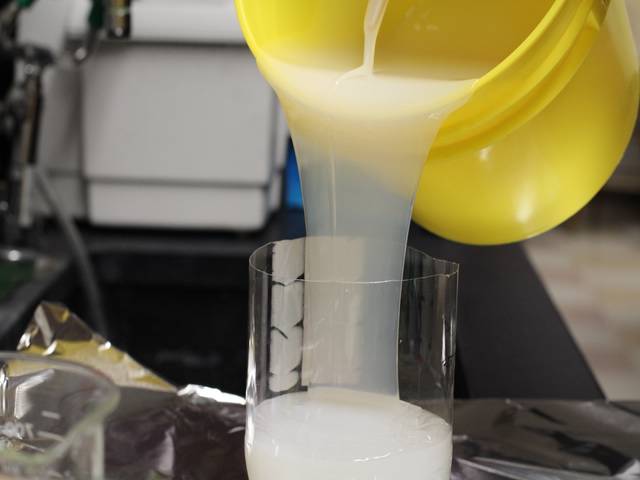
Weighing out the silicone.
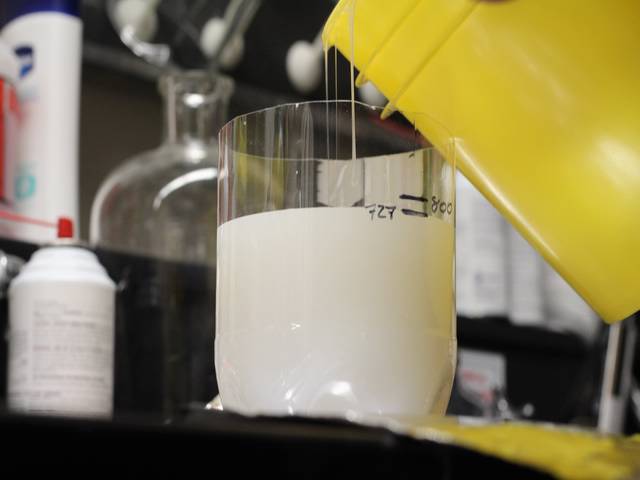
Before I read the instructions I assumed the 10:1 mix ratio was by volume. It isn't, so disregard the marks. We did end up using about 800mL of silicone though.
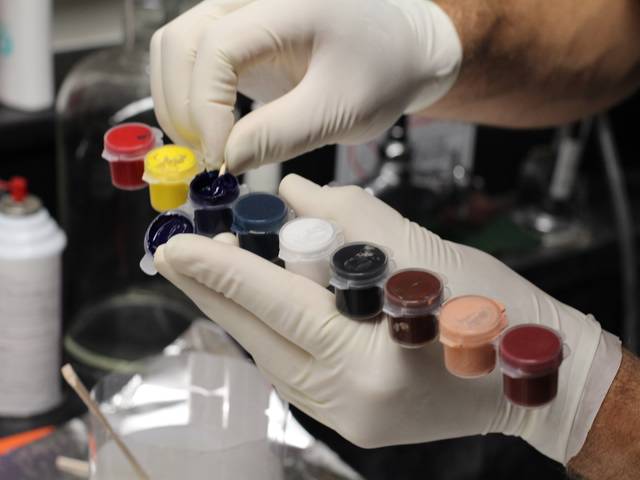
Adding color to the cozy. This laser begins its life in the infrared, then gets doubled to ~650nm (blue) later, so it gets blue dye.
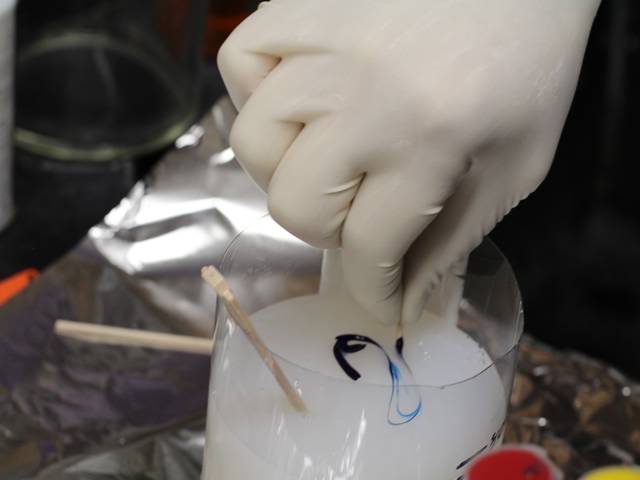
The blue dye was quite powerful and only required a small amount. The turquoise laser needed so much of the weaker green dye mixed in with the blue that we thought we were making a mistake.
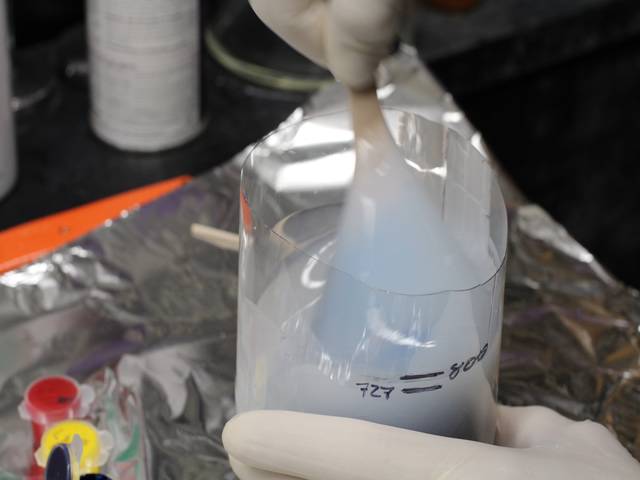
Thoroughly mix the dye in.
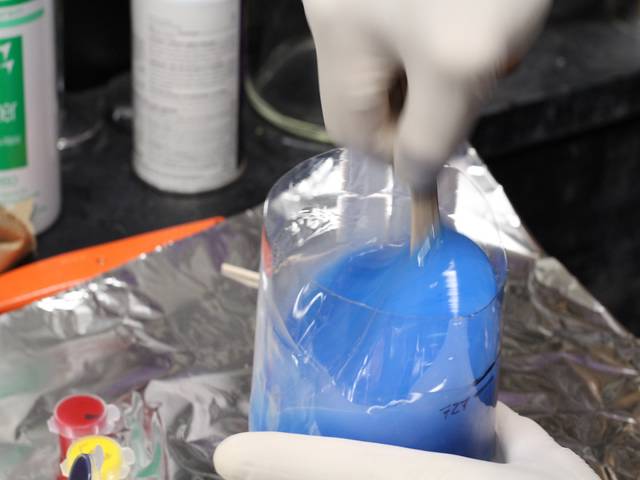
Do sir, you sir, like to mix blue goo sir?
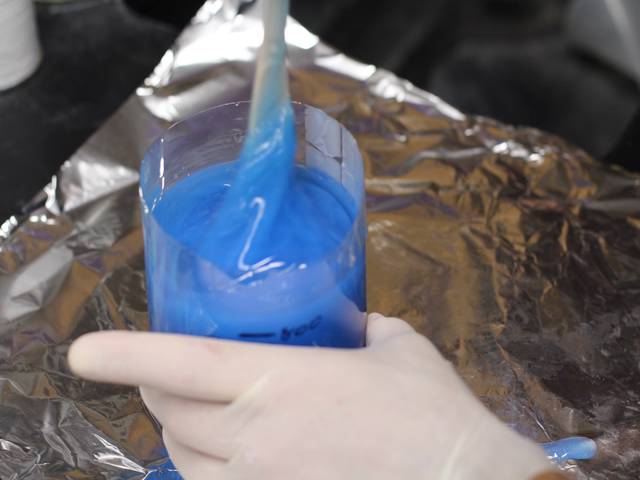
Part B of the silicone mix is transparent, but its definitely in there.
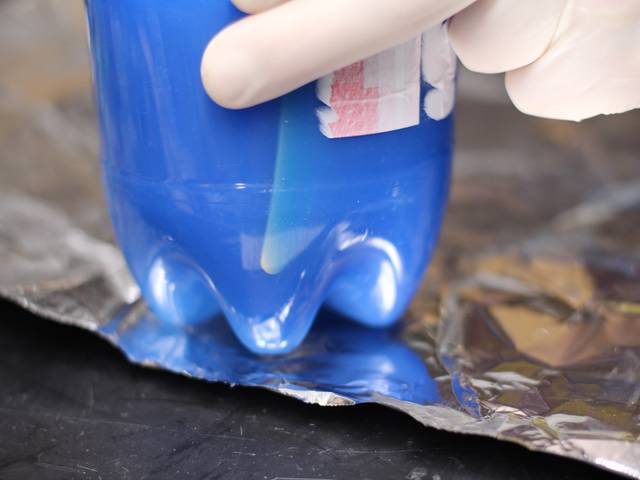
It was difficult to mix the silicone at the bottom.
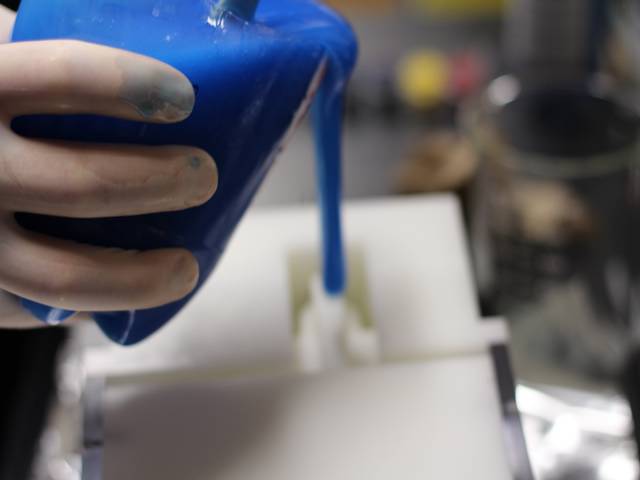
Pouring the mold.
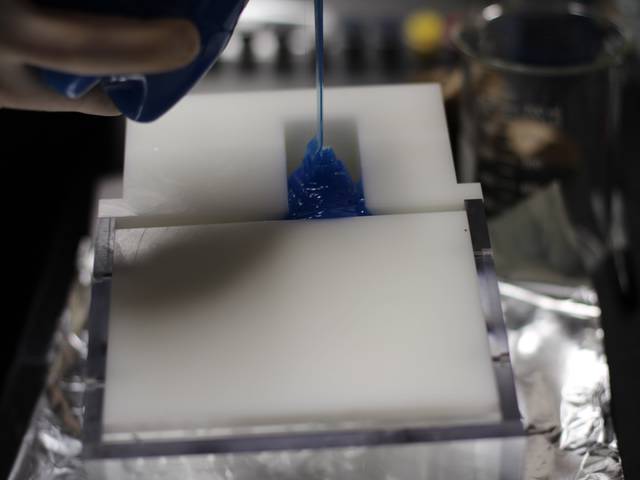
The ribboning looked cool, but probably introduced more bubbles.
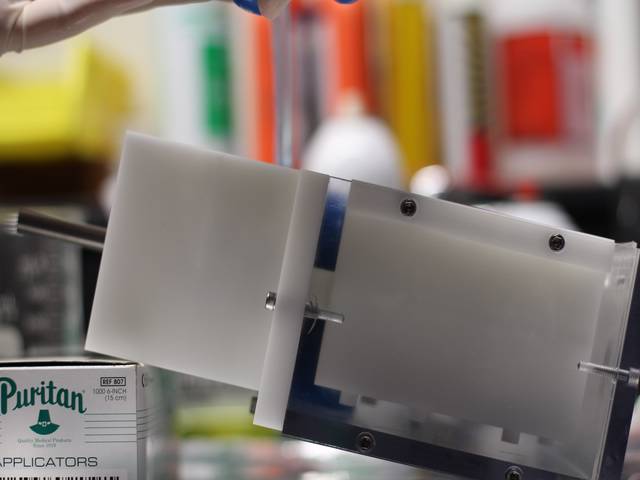
Tilting the mold to get the silicone to flow.
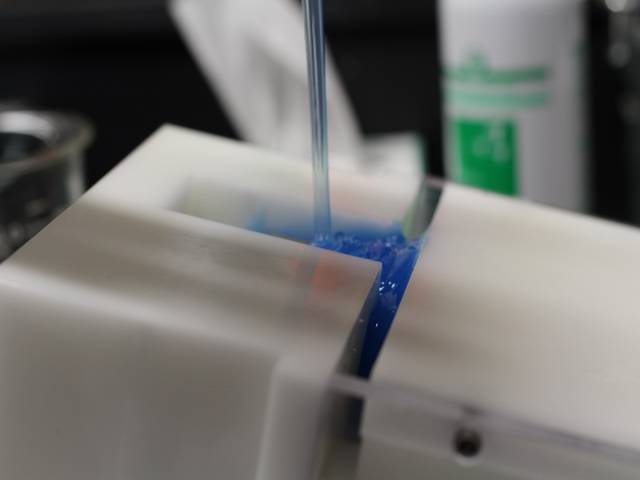
Pouring.
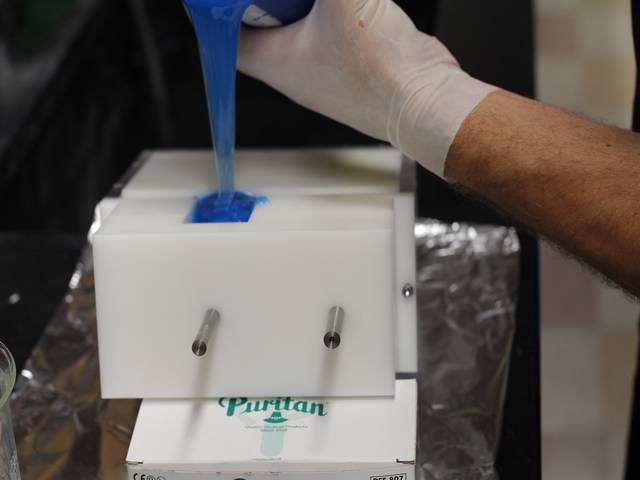
Pouring.
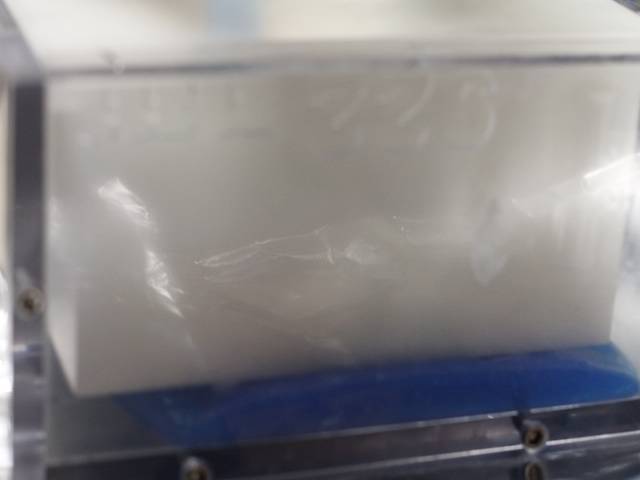
The silicone is very thick and took a while to flow all around.
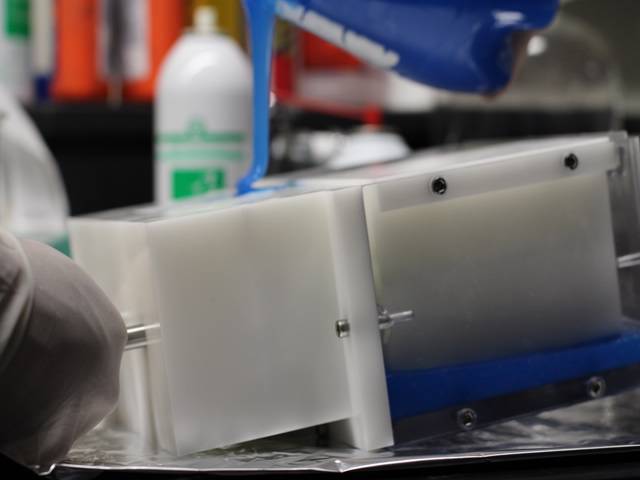
Tilting the mold forward to prevent large bubbles from forming in the enclosed spaces in the front of the mold.
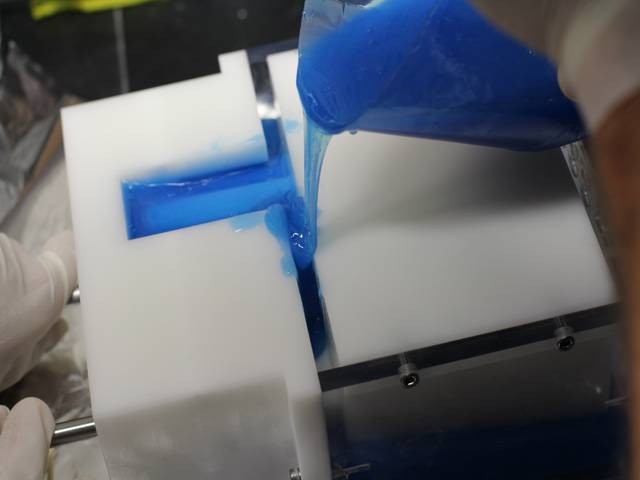
Trying to speed up the flow rate led to messes.
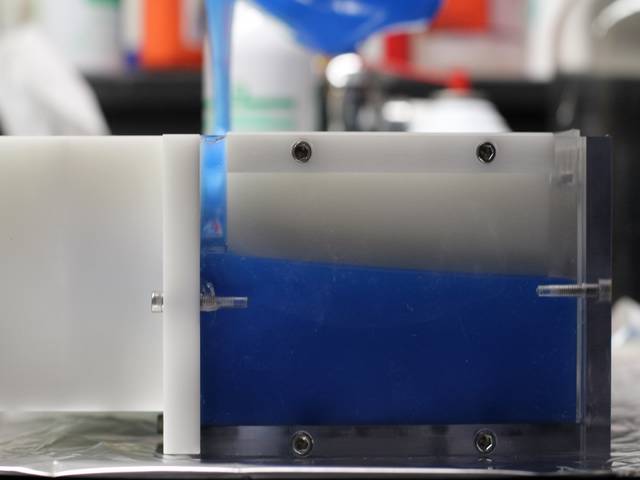
Halfway there.
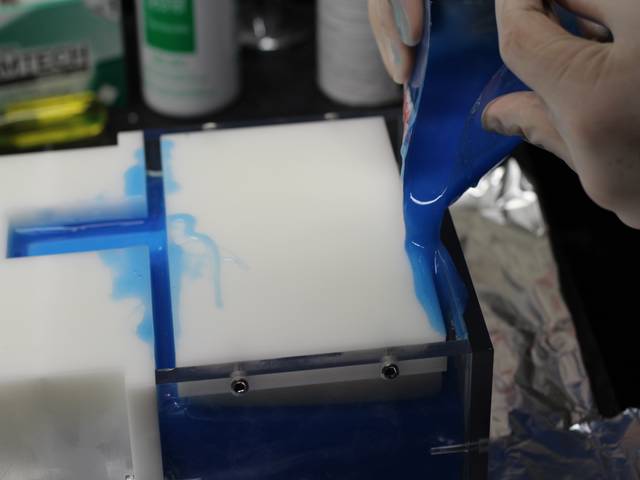
Trying to get an even pour.
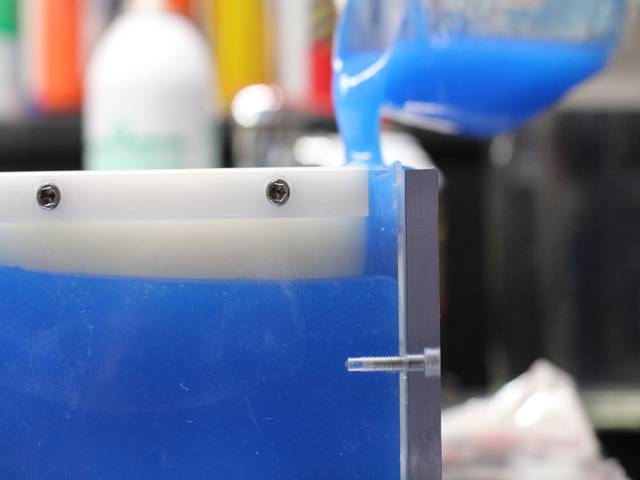
Filling the back of the mold.
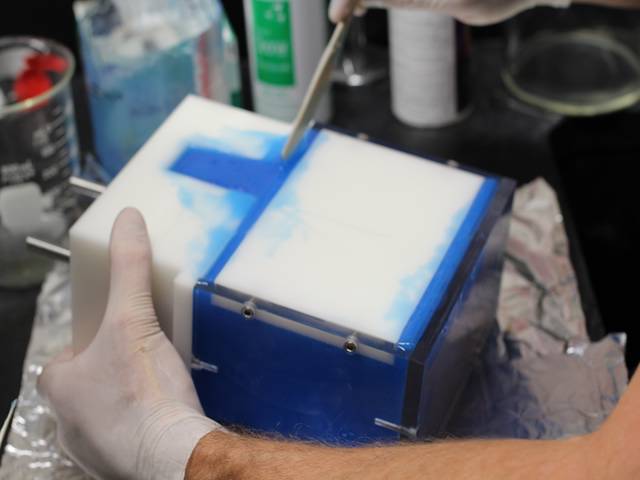
Tilting the mold to try to release the larger bubbles.
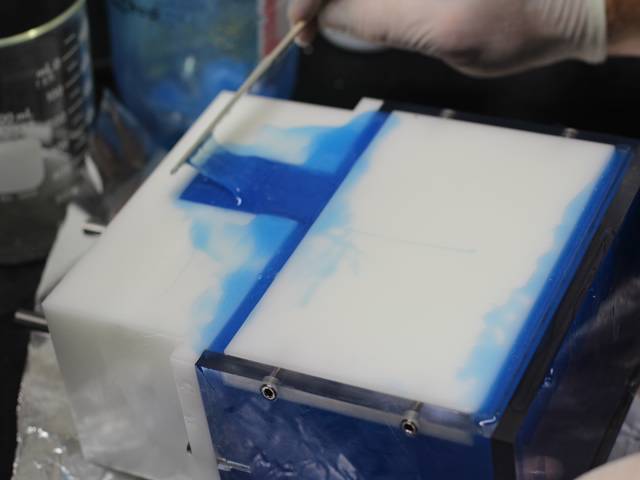
Massaging the silicone to work it into the front spaces.
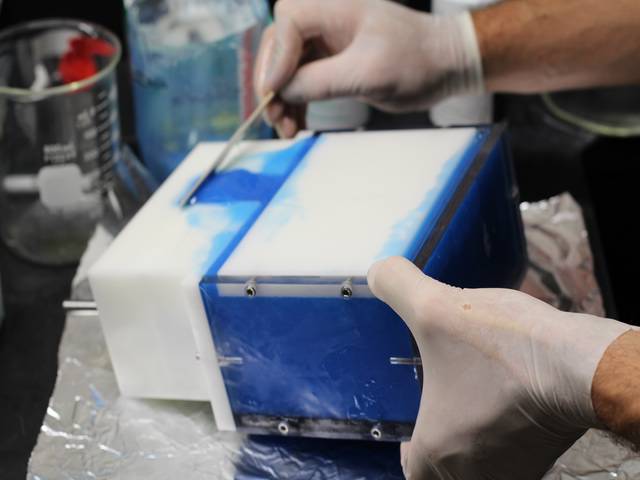
Trying to keep the slicone from overflowing while tilting the mold.
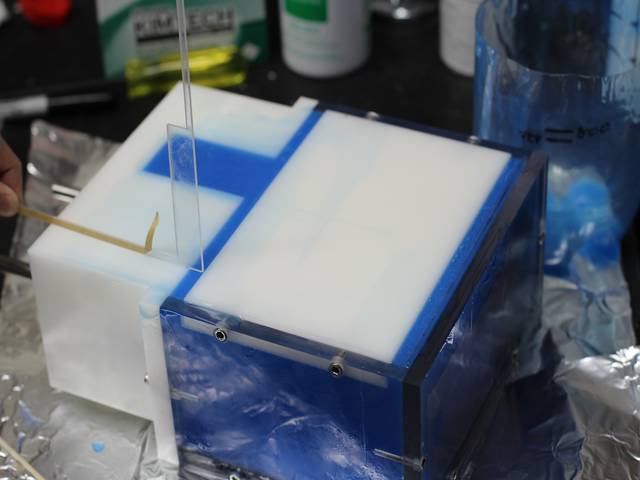
When we were satisfied the silicone was everywhere it needed to be, we scraped off the excess.
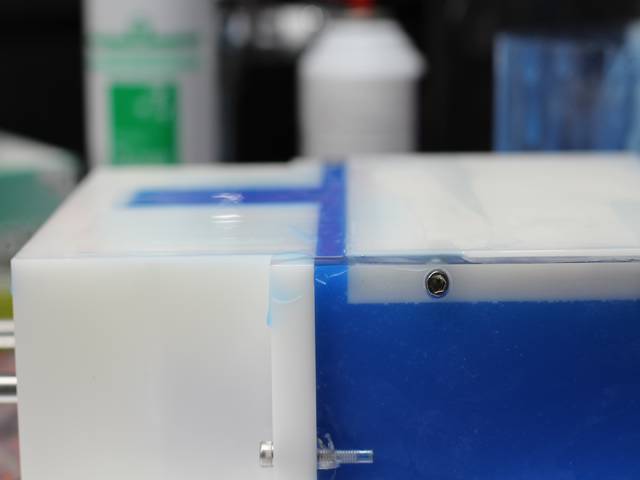
Freshly scraped silicone.
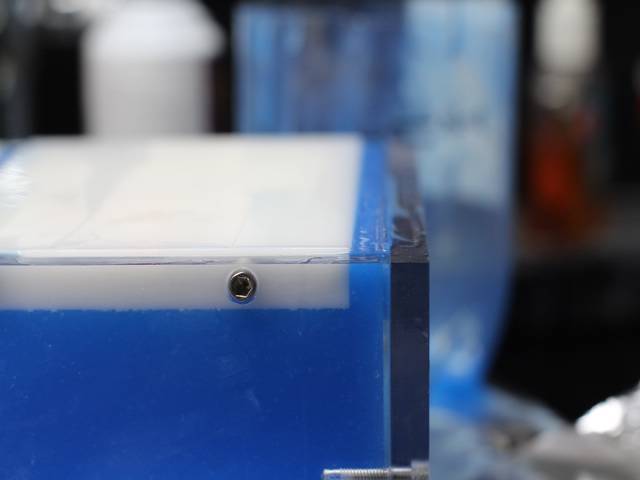
No bubbles here.
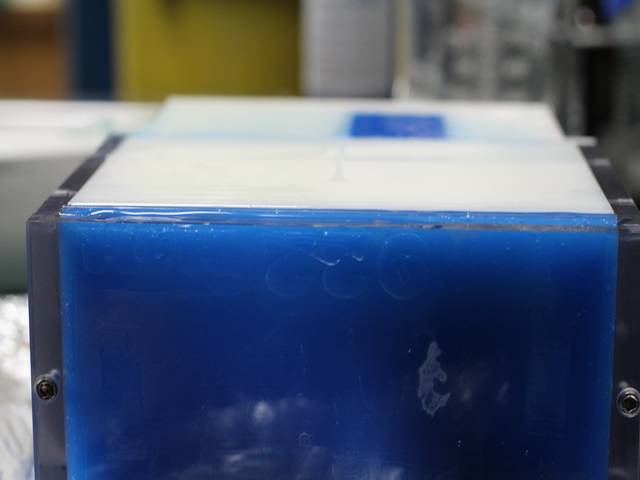
The label was poorly affixed for this pour and the silicone seeped between the layers. Not a huge problem, but makes clean up a bit trickier
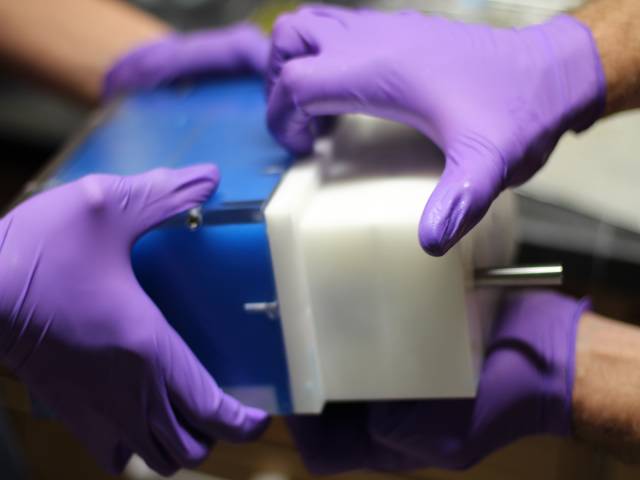
After 24 hours, we could disassemble the mold.
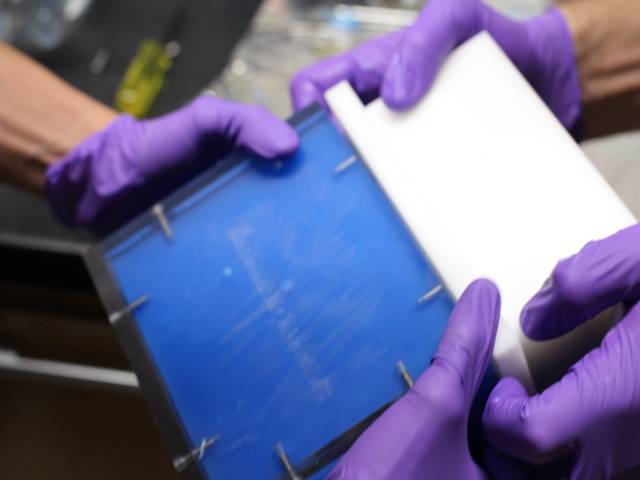
The mold was difficult to separate. Extra hands are helpful.
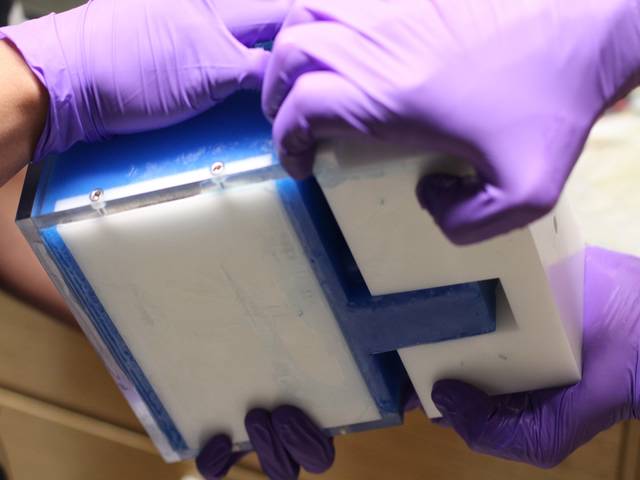
Slowly, the mold separated.
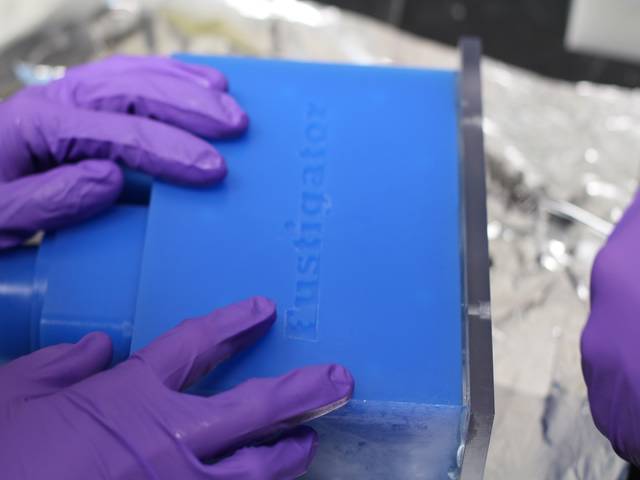
The cozy emerges from the mold.
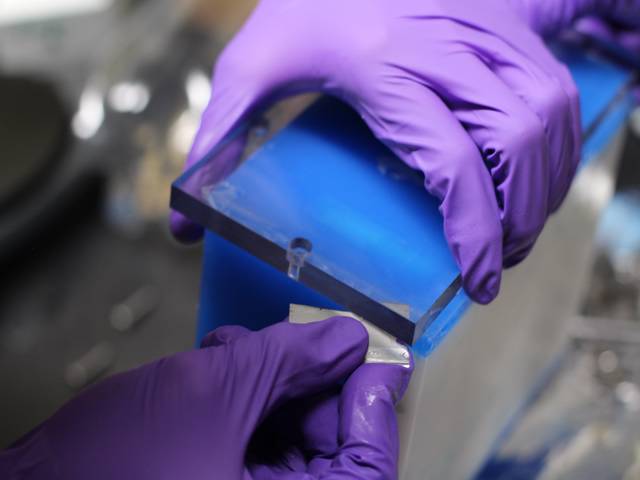
The silicone that seeped under the label made it difficult to remove the back panel.
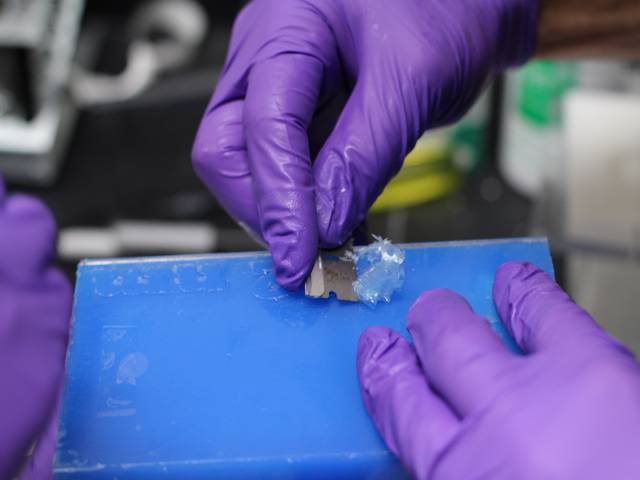
Scraping off the intrusive silicone.
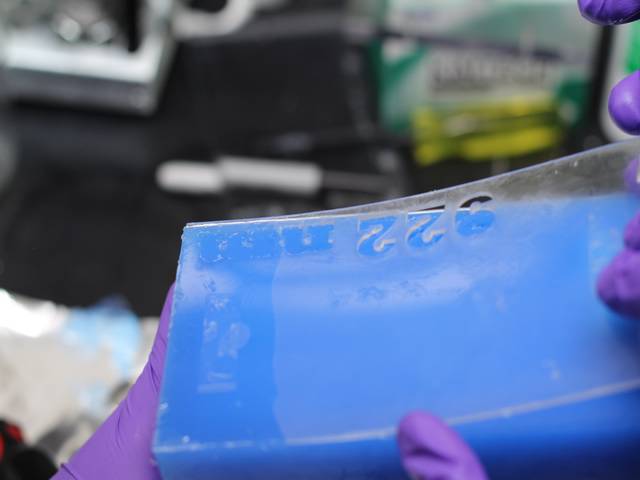
Removing the acrylic label.
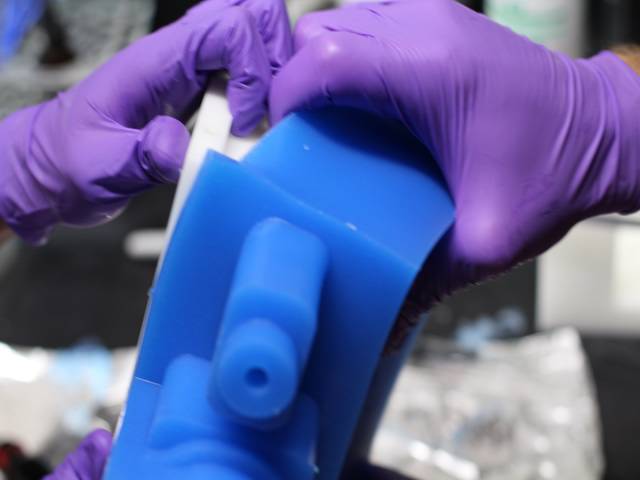
Removing the interior part of the mold.
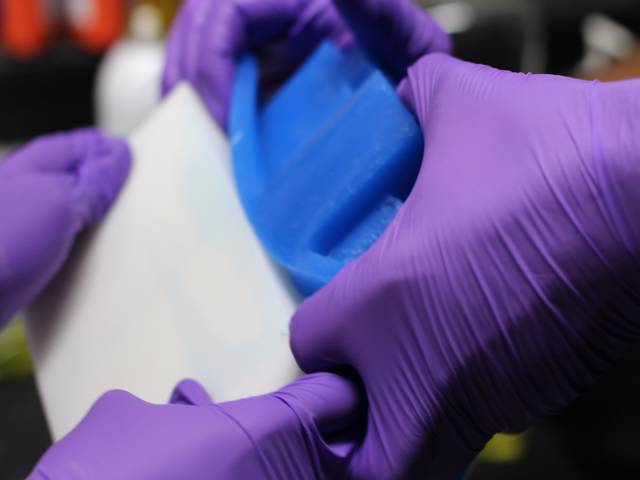
The silicone is quite durable, which is good because getting it off the mold took some force.
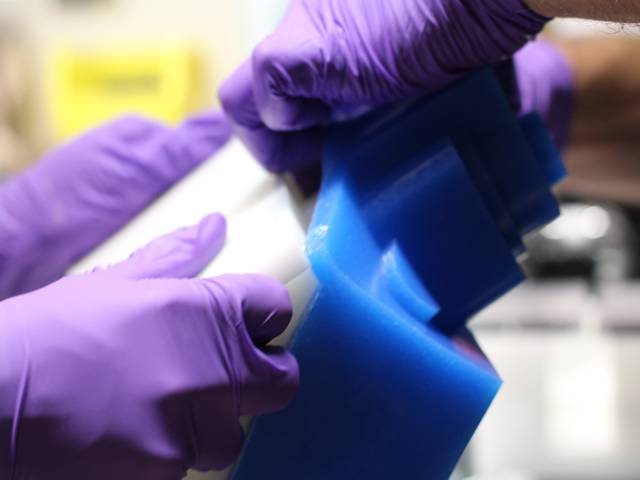
Almost there.
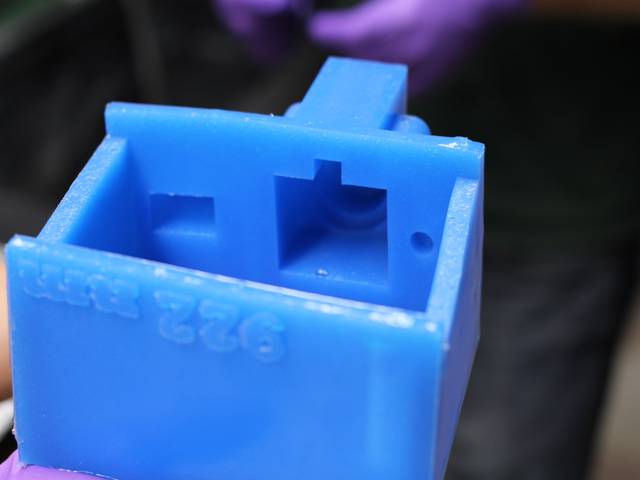
Completed laser cozy.
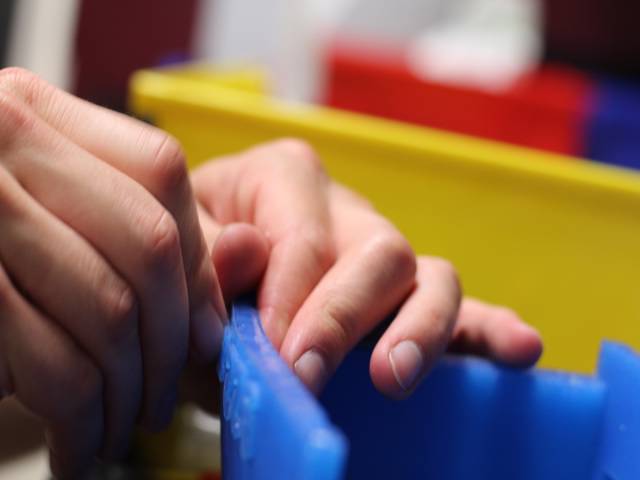
There were a few burrs here and there.
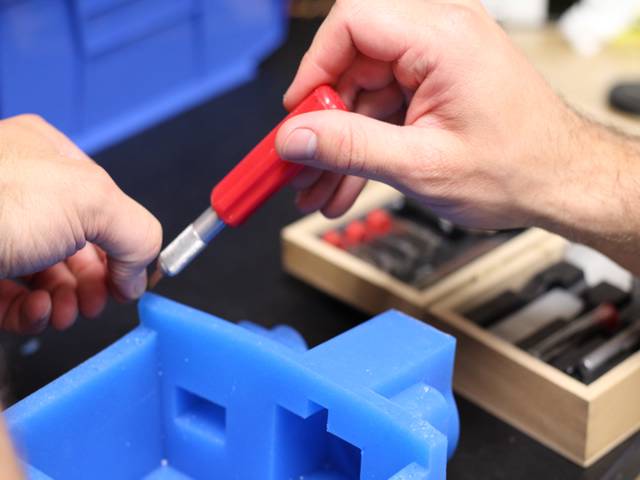
The bottom of the cozy had to be trimmed to fit on the laser since the silicone expands slightly while curing.